
Join the tribe of Movement & Calisthenics Athlete - people just like you that are working with their own body weight to get strength, lose fat build muscle, recover from injuries and live their best lives!
WHO SHOULD READ THIS GUIDE?
Often beginners don’t realize just how complicated body-weight
This is a MUST READ for anyone interested in handstand training.
Today we want to show you the exact methodology we use with our athletes to troubleshoot their progress through a number of tests and corrective exercises.
As you know, to be able to perform a proper handstand, just like any calisthenics move you need to meet a number of requirements needed including strength, mobility, flexibility, core stability.
Problem is that actually it’s hard to know which of these elements are holding you back and how to correct them.
Or it was… until now…
he key is carefully identifying the areas of limitations through a number of mobility and flexibility tests.
Those tests will show you EXACTLY in which area you are lacking and WHAT IS HOLDING YOU BACK.
Once you uncover limitations you can use recommend corrective exercises to CREATE a STRATEGIC PLAN to address them and start making headway with your free standing handstand progress instead of wasting time with random drills and not getting any results .
So, ready to get started? Here we go!
Oh Handstands, We all love them. We all hate them. But we all WANT THEM!
Handstands are not only a cool skill to have. It is a foundation of all the other calisthenics moves, but doing a perfect handstand (not your banana shape like one) is complex and can be extremely frustrating.
When I got started, I was 6 months into handstand training and was working towards being able to hold a freestanding one. For months I would do my drills, I kept on trying to kick up and balance thinking that it will just come with time. But it didn’t.
After 4 months of this madness I realised that I haven’t made any progress.
I didn’t know what’s WRONG and which area do I need to improve?
SOUNDS FAMILIAR?
It wasn’t until I got the help of a professional and $100 spent, that I started to crack it. He showed me exactly what I was missing. My training switched from skill and strength practice to pure mobility practice.
In this article you will learn how to avoid months of clueless training and start getting results now.
- That performing a handstand is a complex skill that isn’t just reliant on you having a high level of strength, but also on flexibility, mobility and balance in a number of other areas; particular if you want to perform a freestanding handstand.
- What are the most important elements for performing a handstand so that you can save yourself months of getting it wrong and causing yourself pain like I did!
- About the problems which might be preventing you from getting or balancing your PERFECT HANDSTAND –
You will learn how to analyse, test and troubleshoot all these different areas so you can perform the best handstand possible (and look awesome at the same time!).
Want to learn the secrets of cracking the complex handstand as well? Read on!


WHY YOU MUST BE TRAINING HANDSTANDS?
While it is fundamental to gymnastics and calisthenics training, it is rarely used as a training tool in other sports, but is still an essential exercise for demonstrating strength and mobility it a wide range of areas – because of this I believe it should be used more widely in training, and here’s why:
A basic handstand is very different from other skills because it provides a new, and unconventional, means for strengthening the shoulder complex. Usually an athlete will strengthen their shoulders, and other joints, in an upright position. When you’re walking, the hip is the central area of focus and so it is the hip that must have enough strength to support your body weight and provide sufficient stability.
However, when you’re upside down the shoulders become the main focus point of stability.
This will essentially make your shoulders develop as strong as your hips!
Crucially, it does it in ways that other skills and weight-training exercises can’t. It also helps to strengthen your wrists and elbows, as a new level of pressure is applied to these weight-bearing joints as well.
If you haven’t tried handstands before, by performing one you’ll be able to see exactly what muscles and joints you need to work on to help you perfect the skill and improve your athleticism. I was causing myself a hell of a lot of pain in my shoulders, which why it what great for me to identify this – now I feel no pain when I perform a handstand!
BUT, LIKE ALL CALISTHENICS MOVES,
A HANDSTAND IS COMPLEX BEAST
Turns out I am not the only one who struggled with my handstand.
Everyday at The Movement Athlete, we get emails. They usually fall into one of two categories:
#1 “Where do I start?!” Starting is always one of the hardest parts, and if you’re a novice athlete it can seem daunting thinking about how to begin, what areas to work on, how many sets and reps to do, what to do if you feel pain and so on…
#2 Once people have started, they encounter problem number two – getting stuck. They train regularly, doing plenty of sets and reps and staying active, but they aren’t getting the results that they want.
The story goes like this:
“There are lots of videos on youtube however after trying out all different instructional videos, I still can’t achieve certain moves like the front lever – what am I doing wrong?”
“I can’t seem to be able to get to a pull up – I just can’t”
“I’ve been practicing handstands forever and still can’t hold it freestanding. My friends tell me to just keep on going – but I know I am missing something”
“I see all these progressions for the skills but I know its my shoulder mobility is off – why are you the only who talks about that?”
We see plenty of comments like this, and don’t worry, I was at that place once as well. When I spent almost 12 months training my ass off trying to get my handstand right and making NO PROGRESS, you can imagine how unmotivated I was getting!
SO, WHAT DO YOU DO WHEN YOU GET STUCK?
Here are some common reactions we’ve seen in our training of over 4000 calisthenics athletes:
- You try to muscle your way through the problem by gripping harder and pushing stronger.
- You keep training the actual skill without any knowledge for what’s missing – maybe you keep on practicing your handstands without realising that you are missing shoulder mobility (that’s where I went wrong for 12 months!)
- You watch hours of YouTube videos to try a bunch of different drills but not actually understanding what they do and if they’ll help you or not
- You eventually give up thinking that this is not for you…
AND NONE OF THESE WILL FIX THE PROBLEM…
Sure, you could solve this by hiring a local calisthenics expert. They’d be able to quickly identify your issues and set your path straight (hopefully)
But maybe there aren’t any calisthenics experts near you, and maybe you don’t want to spend $50-$150 on a single session for just one skill.
Before you go down that route, try and get unstuck on your own (with the help of this handy guide!). Because calisthenics moves, especially handstands, are so complex and involve so many different areas of the body, athletes always run into problems. You can’t look awesome without going through the tough bits first! These are just some of the reasons for that:
HERE ARE SOME COMMON REASONS WHY PEOPLE ARE GETTING STUCK
- Lack of understanding what it takes to build up to skills like planches or handstands
- Lack of knowledge surrounding movement elements and principles that make moves work
- Lack of full personalisation in a training program – it’s all very well performing exercises you found on YouTube but you need a programme that is tailored to you – one that address your specific problems. For handstands you need mobility, flexibility, shoulder stability, strength and technique – which area do YOU need to improve?
A PERFECT HANDSTAND REQUIREMENTS

You might have enough upper body strength to hold your body upside down, but unless you develop core and body-line strength and address your shoulder, wrist and hip mobility and flexibility, you won’t be able to actually hold the handstand (or you’ll end up looking like a funny banana that could also cause you some real injury).
So to all of you who are stuck – the complexity of the move is higher than you think and you need to troubleshoot appropriately. BUT, this makes it all the more rewarding when you finally master it. Trust me, I’m speaking from experience.
LET’S ANALYSE YOUR HANDSTAND
ALL YOU NEED TO KNOW TO GET UNSTUCK – HOW TO ANALYSE YOUR HANDSTAND CORRECTLY
POSITION
For the best position to analyses your handstand, I always get our athletes to do a wall-facing handstand with their hands shoulder width apart and their hands flat on the ground, pointed away from the wall, with the fingers splayed. Also be sure to keep your chest, front of the thigh and top of the foot against the wall. Doing it this way:
- Allows for the easiest visual analysis of joint positions
- Challenges shoulder mobility more than a wider stance would
- Challenges wrist extension and having the fingers spread provides a larger base of support
Here’s how it should look:

Perfect!
But the truth is that most of you guys probably are looking more like this (don’t worry, we’ve all been there!):

HOW TO: THE METHODOLOGY
Next:
- Begin your analysis at the wrist and move upward.
- Your partner or coach, while standing to your side, should examine and analyse your wrist extension by seeing if your forearm is perpendicular to the ground.
- At the elbow they should also look for a full extension.
- Next move to the shoulder where the joint should be “opened up” with the humerus almost vertical. The lumbar spine should also be in a neutral position without excessive arching, and your hips should be fully extended.
- Check – can you complete several breath cycles without losing the position you’re in? If you lose it with breathing, then it is likely that you’re holding in your breath to try and stabilise yourself – this isn’t the right way!
Now let’s look into a greater details at each of these requirements, testing and corrective exercises.
HERE ARE ALL THE AREAS WE WILL BE LOOKING AT
- Wrists (range of motion testing and corrective exercises)
- Pectoral Major Flexibility (flexibility testing and corrective exercises)
- Lats Flexibility (flexibility testing and corrective exercises)
- Lumbar Spine
- Hip Flexibility
BEFORE EVERYTHING ELSE
If you can’t maintain a neutral spine during your handstand then it’s likely that you’re compensating for a limitation somewhere else. This is why it’s so important to assess and treat any dysfunctions you might be having in your shoulders and wrists before addressing those in the lumbar spine.
Don’t worry if your flexibility isn’t perfect at this stage, once you have identified the problem you’ll be able to easily tackle it. Patience and hardwork is key
1. WRIST FELXIBILITY & MOBILITY
As your body is inverted during a handstand, the wrist plays a more significant role in this skill than in any other body movement. If you don’t have sufficient range of motion in your wrist, then your body will compensate somewhere else, for examples by giving you poor positioning in your shoulders, lumbar spine or your hips.
It’s the same as having poor ankle range, therefore you move differently using your knees, hips, torso or shoulders when doing an overhead squat.
What I’ll share with you below are some easy and quick ways of analysing and testing various parts of your body, and will really help you in performing the best handstand possible.
WRIST RANGE OF MOTION TESTING
If you find your wrist range of motion limited, there are specific tests you can do to analyses if the problem is from joint stiffness or muscular inflexibility.
HOW TO PERFORM THE TEST
- Start with your palm and fingers flat on a box with your elbows extended
- Move your wrist into the maximum extension that it will go, and see what angle your forearm is in relative to the box
- Retest your wrist extension using your fingers by having them off the end of the box while keeping your palms flat.
LIMITATIONS INDICATORS
Optimal mobility in both positions should have the forearm approximately vertical.
If you found that your had greater mobility in the second position, then it’s likely that your wrist extension is limited by the flexibility of the wrist-flexor muscles. However, if you find that your range of motion is limited in both positions, then it’s likely that you are having problems with the wrist joint itself.
CORRECTIVE EXERCISES FOR WRISTS
So what can we do to fix it?
Now that you’ve figured out if you’re having problems from joint stiffness or muscular flexibility, you can target the particular problem with the right corrective exercises.
1. MUSCULAR TIGHTNESS CORRECTIVE EXERCISES
If you’re having muscular tightness in your wrists, you can perform:
-
Soft-tissue work
Soft-tissue work by using a lacrosse ball or foam roller over the anterior forearm (the palm side). Stretching should follow soft-tissue work.
-
Wrist-stretching exercise.
A great exercise for this that I always use with my clients is to:
- Kneel on your hands and knees with your palms down on the ground and your fingers facing straight out in front of you.
- Rock forward, moving your wrists into an extension position as far as your flexibility will allow.
- You should feel tension or stretching in the inside of your forearm, which means that your wrist flexors are being stretched.
- When you can hold your shoulders directly over your wrists or fingers then you know that you’ve achieved the right level of flexibility – it can take a little bit of practice and time to get this just right, but I promise it’ll be worth it!
Here are two other options for the wrist stretch


2. JOINT STIFFNESS CORRECTIVE EXERCISES
Joint mobilisation
If you’re finding that your wrist range of motion is limited by joint stiffness rather than muscular tightness, you can use resistance bands to help perform mobilisation of your joint.
To do this:
- Place a resistance band around your wrist joint as close to the crease in your hand as you can get it
- Have the other end of the band attached to a rig or other form of anchor
- Place your hand flat on a box or table
- Then move as far away from the anchor as you can to create plenty of tension
- Then rock back and forth over the wrist
The above two tests are simple and easy, but can greatly help in making the process of performing a handstand much easier for you! It definitely helped me.
2. PECTORAL MAJOR FLEXIBILITY
PECTORAL FLEXIBILITY TEST
To test the flexibility of your pectorals:
- Stand upright with your elbows bent to 90 degrees and raised to shoulder height
- Point your fingers upward with the palms facing away
- Your forearm should rest against a vertical structure, such as an upright squat rack
- Stretch your arm back
- Have someone analyse your flexibility from the side

If you have GOOD FLEXIBILITY you’ll be able to stretch your forearm to a point beyond the shoulder joint, perfect for a handstand.
LIMITATIONS INDICATORS
- You are not able to stretch your forearm to a point beyond the shoulder joint,
- Then you need to address your pectoral flexibility before you’ll be able to complete a perfect handstand.
- It is important to note that this test should not be administered to individuals with instability of the shoulder.
CORRECTIVE EXERCISES
A combination of myofascial release and stretching is great for improving flexibility of the pectorals. Following foam rolling or work with a tool such as a lacrosse ball, stretch your pectorals in the same position described earlier for testing of pectoral flexibility – this will do wonders for you.
3. LATS FLEXIBILITY
LATS FLEXIBILITY TEST
How to test your lats flexibility:
- With your coach or partner, lie on your back with your legs flat on the ground and with your hips flexed at 90 degrees.
- Raise your hand overhead as far as possible with your arms remaining parallel and leading with your thumbs.


LIMITATIONS INDICATORS
- Lat tightness
If overhead motion is decreased with the hips flexed, it means that you have lat tightness (1). Be sure to also monitor your lumbar spine while doing the exercises; if you’re excessively arching your back while your legs are flat then you won’t be doing the test correctly!
CORRECTIVE EXERCISES
If lat flexibility is found to be a limiting factor in shoulder range of motion, a combination of soft-tissue mobilisation and stretching can be employed.
Soft-tissue mobilisation:
- Lie on your side with a foam roller placed alongside your lats
- Roll up and down from side to side
Stretching:
There are many stretches you can use for your lats, but using a band, ring or rig at your chest height is one of the more preferred routes.
- Bend at your waist and shift your body weight backward while moving a band overhead
- Twist your lower back or hips slightly away from your extended arm to increase the intensity of the lat stretch
I use a combination of stretching and soft-tissue mobilisation to ensure that I keep my lats flexible and with the largest range of motion possible – trust me, it helps!
Here is another option

OTHER STRUCTURES FLEXIBILITY LIMITATIONS
If your overhead position is unchanged and your achieving less than a full range of motion from the pectoral tests in both positions, then flexibility limitations may be present in the teres major or minor, subscapularis, rhomboids, thoracic spine or glenohumeral joint capsule.
Flexibility testing for other structures such as the teres muscles, rhomboids and levator scapulae can be very difficult and are best addressed using test-treat-retest principles, which I’ve explained in more depth below.
CORRECTIVE EXERCISES
The teres minor, rhomboids and levator scapulae are other muscles that commonly cause some limitation in the shoulders. As mentioned previously, these muscles can be identified through a process of elimination (test, treat, retest).
1. Soft tissue work by using a foam roller or lacrosse ball
One of the best ways for you to target these muscles in soft tissue work is by using a foam roller or a lacrosse ball to roll around the scapula at the superior and inferior angles, as well as between the spine and the scapula.
2. Across-Body Stretch
An alternative method to address soft-tissue restriction of the rhomboids is with an across-body stretch. The affected arm should reach across the front of the body at shoulder height while the other hand applies pressure at the elbow to pull the arm further across the body.

3. Thoracic Rotation Spine Stretch
To target the thoracic spine:
- Get onto your hands and knees and place one hand behind your head.
- Keep your arm on the ground straight while you rotate your chest toward the elevated arm.
- Hold this rotated position for three to five seconds before returning to the start position and performing several additional reps.
- As you improve your rotation, you will improve your extension as well.

4. Thoracic Extension – with a foam roller
Another technique, this one focused on thoracic extension, also uses a foam roller:
- Lie flat on your back with the foam roller running across the spine at your shoulder blades.
- Raise your arms overhead repetitively to improve thoracic extension.
- Your butt and feet should remain on the ground to ensure mobility is coming from the spine.
- Also try performing a hold in this position while grasping a weight to increase extension.
- This movement can be performed with the foam roller positioned at various levels of the thoracic spine to target different segments.
5. The shoulder wall stretch
This is a great tool that I use regularly with my clients (and myself!) to help improve shoulder and thoracic range of motion.
During the stretch:
- Face a wall about 3 to 4 feet away (depending on your height)
- Place your hands on the wall at shoulder height.
- Bends at the hips, stretching the shoulders into end-range flexion by moving the torso toward to the ground. The more flexible you are the lower you’ll be able to get your chest.
- This stretch is even more effective when a partner applies some overpressure through the thoracic spine to increase the stretch.


OVERHEAD MOBILITY
Keeping up so far?! I know it can seem confusing and like there’s a lot to do, but handstands, and all of calisthenics, are complex routines which use a lot of different muscles. It’s important to do all of this testing and necessary stretching so that you don’t do yourself any permanent injuries.
The thoracic spine and shoulder complex are closely related in how they function. Often, limitations in overhead mobility are associated with decreased thoracic mobility. The below test will give you an assessment of the thoracic-spine rotation and extension.
THE TEST
- Sit on your heels with one arm flat on the ground in front of your knees and the other behind the back.
- Rotates toward the back arm without shifting weight to either side.
- Your raised shoulder should create an angle of 50 degrees or more relative to the ground.


LIMITATIONS INDICATORS
Decreased rotation to one side would indicate thoracic-rotation restriction to that direction, and decreased motion to both sides would indicate a thoracic-extension limitation.
MIDLINE CORE STABILISATION
MIDLINE CORE STABILISATION TEST
For those requiring evaluation specific to midline stabilisation, I’ve got two handy tests for you below that I use all the time:
1.Trunk stabilisation push-up test
This is a great test for showing you your ability for resisting lumbar extension and maintaining a neutral spine.
- Lie down with your chest, stomach and hips on the ground.
- Extended your knees so that they are not on the ground.
- If you’re a male, begin with your thumbs in line with your forehead and if you’re a female, begin with thumbs in line with you chin.
- Put your hands at shoulder width and forearms raised off the floor.
- Ensure your knees and elbows are off the ground before performing a push-up while keeping the torso rigid.
- Have your coach or partner watch to make sure you don’t reposition your hands lower before pushing and to ensure your entire body is lifted as one nice tight single unit.
- If you can perform this movement, then you have good core stabilisation – well done!

LIMITATIONS INDICATORS
If you’re having trouble performing the movement, here’s what to do:
- If you’re a male, reposition your thumbs in line with your chin and if you’re a female, reposition them in line with the clavicle and then repeat the steps that followed in the test.
- If you can complete this movement with the proper technique, then it means that you have fair but non-optimal stabilisation.
- If you’re still having trouble with this movement, then it means you have poor core stabilisation. But don’t worry, all is not lost! All of this can be improved and worked upon.
LUMBAR EXTENSION
LUMBAR EXTENSION TEST
This will test the range of your lumbar spine extension:
- Attach a resistance band to a squat rack or other stable surface.
- Apply tension to the band, then lie supine with the band running under and perpendicular to the lumbar spine.
- Begin with both of your legs vertical and your knees extended.
- Lowers both of your legs together while keeping the low back flat on the ground. The weight of your legs challenges the abdominal muscles’ ability to resist lumbar extension.
LIMITATIONS INDICATORS
- If you lose neutral positioning of your spine, then the resistance band will slide under your back.
- If you have good or great midline stabilisation, then you will be able to lower your legs to just above the ground and then back to an upright position without losing any of your core positioning
- If you can lower 45-80 degrees then this shows that you have good but non-optimal control
- Anything less than 45 degrees, then you NEED to address this quickly before attempting a handstand.
CORRECTIVE EXERCISES
If you have poor core stabilisation, then I’ve got just the right corrective exercises to help (I used to have terrible core stabilisation so I’ve made sure to learn these inside and out!)
- Similar to the exercise above, lie supine with hips flexed to 90 degrees and the lower extremities raised to the ceiling.
- Lower your legs towards the floor while keeping your lumbar spine on the ground.
- Find the last point at which you can no longer maintain a “flat back”, which is determined by the contact with the floor.
- Hold this position for 10-15 seconds.


HIP-EXTENSION FLEXIBILITY
Your hips are the primary generator of force in the majority of movements that you’ll perform in calisthenics, and your pelvis, lumbar spine and core play a huge role in stabilisation.
Common Dysfunctions
- The hip flexors (rectus femoris and iliopsoas), alongside the lumbar spine erectors, are muscles that can be prone to tightness, as well as the gluteals and abdominal muscles.
- This leads to an overextended lumbar spine and anteriorly tilted pelvis due to inflexibility and lack of proper motor control.
- This can be seen in many athletes, and leads to a decreased stability and power, which will affect your performance – and we obviously want to do everything we can to avoid this!
- These postures may be observed during either static positions or dynamic movement.
HIP FLEXIBILITY TEST – The Thomas Test
This is a great test that I like to use to analyse the flexibility of the rectus femoris and iliopsoas muscles – which for you non-scientists (like me) are the two main muscles that flex the hip.
The Thomas Test:
- Sit on the edge of a box or table and lie back while holding both of your knees against your chest.
- Passively lower one of your legs down.
- Examine the amount of hip extension as well as how much knee flexion is apparent at the bottom position. Can you reach full extension? = 0 degrees.
- If your knee is not bent to 90 degrees, then rectus femoris tightness is present.
- If your hip does not reach full extension, iliopsoas flexibility is the likely limitation.
- If the Thomas Test is negative for inflexibility, then activate the glutes during the handstand to extend the hips.


To give you guys plenty of options, here’s an alternative test:
- Lie on your stomach
- Bend your knee far enough so that your heel to contact your buttocks.
- If you can’t do this, then you likely have tightness of your rectus femoris.
- Next, lie onto your back and keep one leg flat on the ground while raising another with the knee straight.
- If your hip flexion is at an angle of around 80-90 degrees, then you can consider yourself to have full hamstring flexibility! If not, then you have tightness in your hamstrings.
- The non-tested leg must stay flat on the ground.
CORRECTIVE EXERCISES
The hips are the final joint that we assess in order to improve your positioning for the handstand (and well done for sticking with me!).
THE COUCH STRETCH
The Couch Stretch
I’ve found that the couch stretch is a great way for addressing your flexibility levels of the psoas and iliopsoas muscles, as well as your rectus femoris.
- Kneel on the floor while facing away from a wall
- Place one knee close to the wall (as close as possible) with the knee flexed and with the top of the foot against the wall.
- Place your other knee at a 90 degree angle with the foot flat on the floor in front while you try and extend the trunk, maintaining a natural lumbar spine throughout.
- Try to increase your knee flexion and vip extension of your back leg by placing your front foot to create a more upright position.
- Your goal is for the gluteals to meet your ankle against the wall, with your trunk erect while the abdominals and gluteal muscles remain engaged so that you keep a neutral spine.
- Decrease the amount of flexion at the knee by leaning forward so that you focus more on the iliopsoas.

FINAL THOUGHTS
I hope this extensive guide has been of help to you! I’ve included everything that I’ve learnt from handstands and handstand training over the last few years – it’s all been of a great help to me to really nail the best handstand possible.
The important thing is to do the proper testing beforehand so that you can address any limitations that you have. This will also be beneficial for a number of other calisthenics moves and skills that you perform by giving you better shoulder and hip mobility, as well as midline stabilisation.
Achieving a solid, perfect freestanding handstand is tough, I’m not going to lie. It takes a while and you’re likely to get frustrated along the way. I was afraid of going upside down and once I started I kept feeling pain due to poor flexibility. After some heavy training with an expert, those problems are miles behind me now.
Have any other questions or need help with your routine? Comment below!
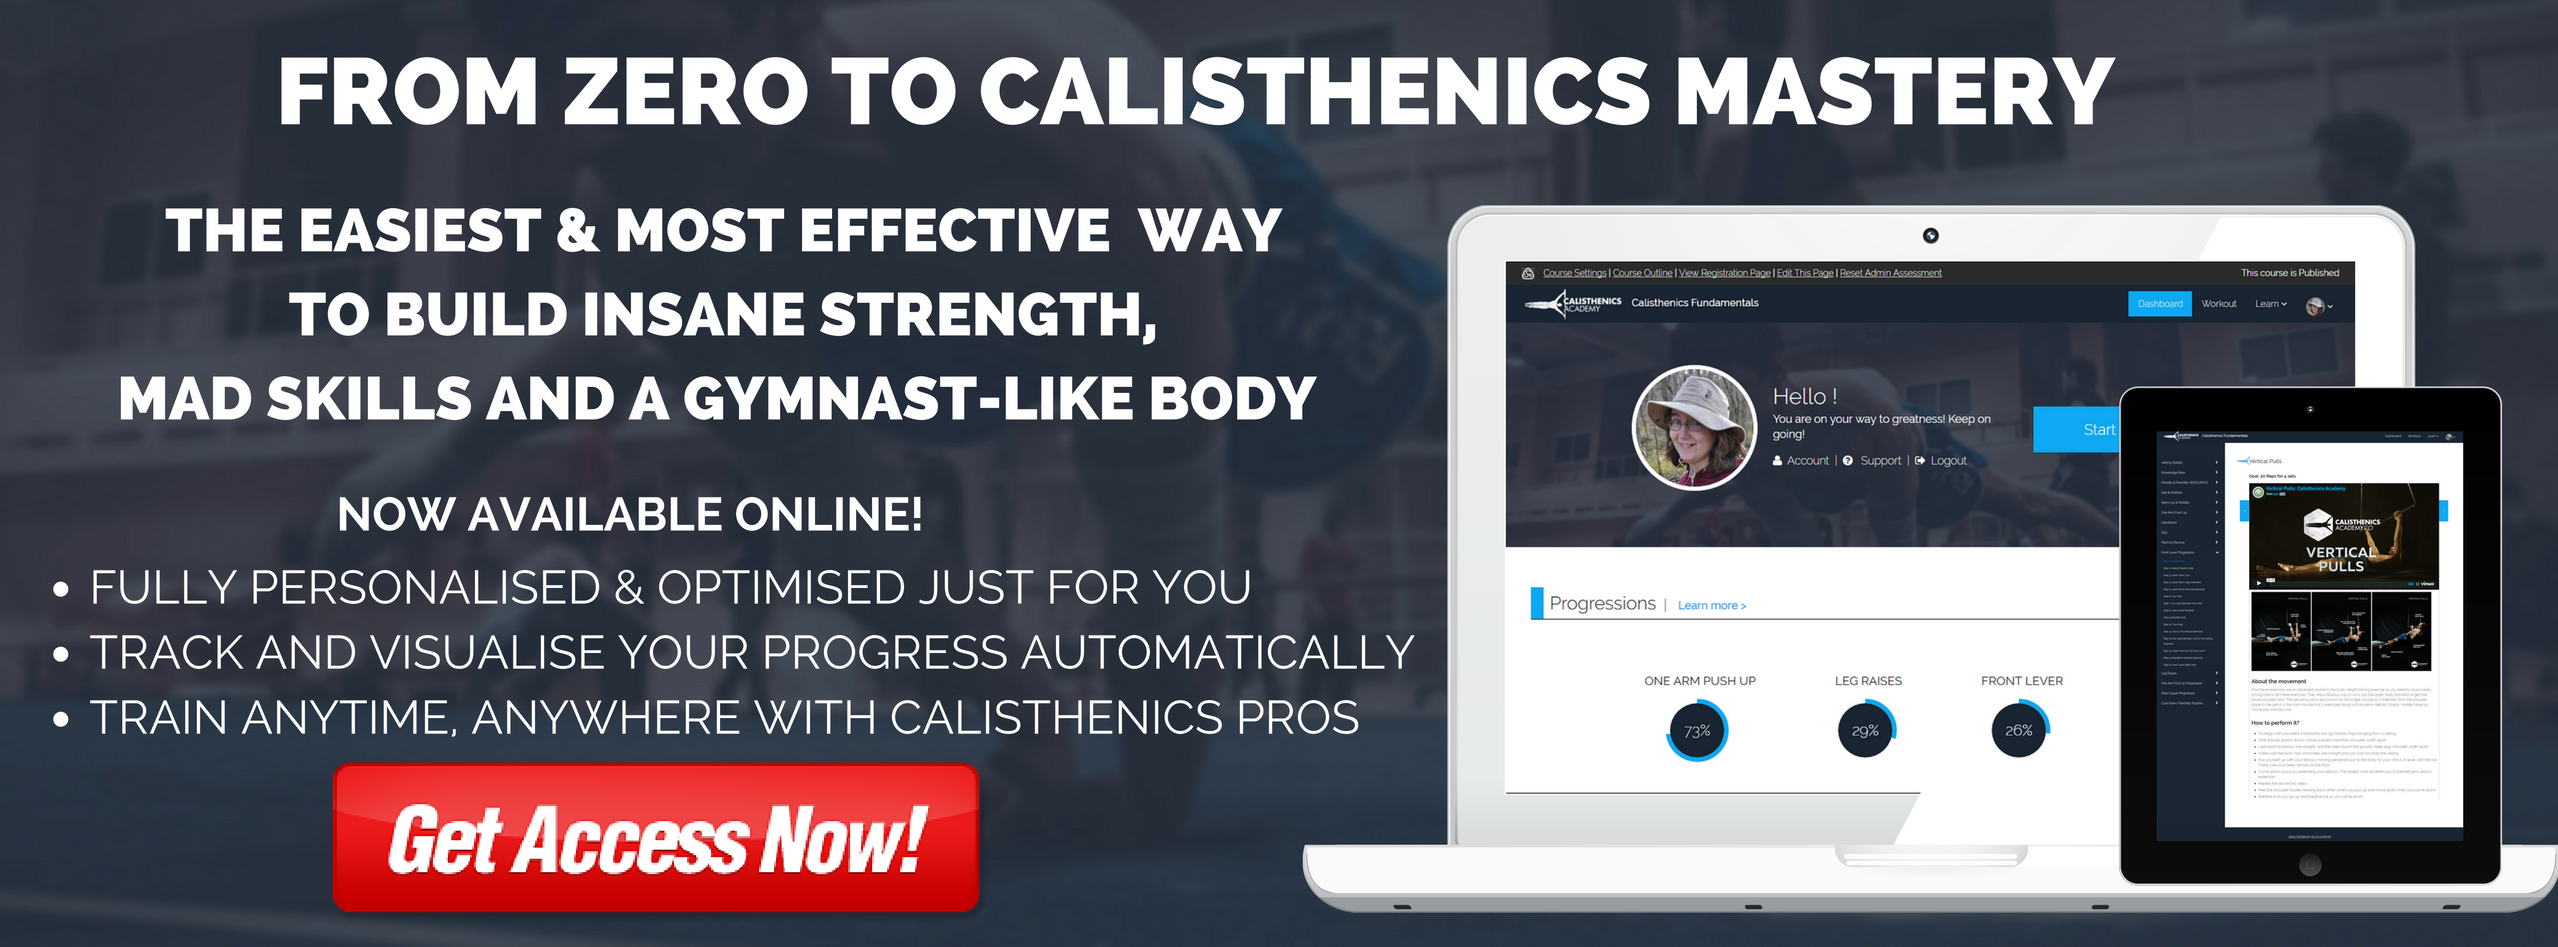
LOVE WHAT YOU ARE READING? Then check our our brand new Calisthenics Fundamentals Course – part of .
0 Comments