If you’ve ever dealt with lower back pain, you know how much it can impact your daily life. The discomfort can make even the simplest tasks feel like a chore.
But here’s the good news: you don’t need fancy equipment or complicated exercises to start feeling better. Sometimes, the simplest movements bring the most relief—like the glute bridge.
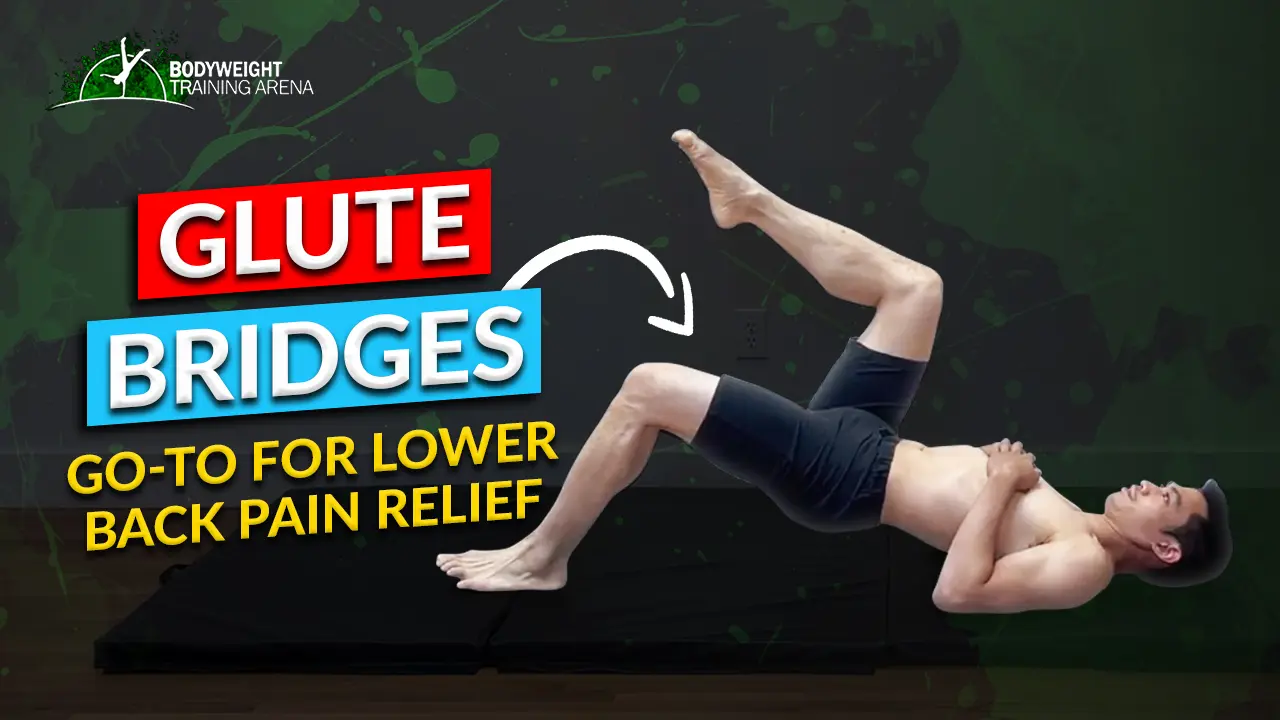
Glute exercises have become one of the go-to recommendations when 📍struggling with lower back pain. They’re easy to do, highly effective, and, most importantly, they help alleviate pain by targeting the muscles that often contribute to back discomfort in the first place.
Let’s find out how glute bridges solve lower back pain. Keep on reading.👇
😱What Are Glute Bridges?
Glute bridges are a simple yet highly effective exercise that primarily targets the muscles in your glutes or buttocks. The movement involves lying on your back with your knees bent and lifting your hips to form a bridge. It works the glutes, hamstrings, core, and lower back, building lower body strength and stability.
Glute bridges are valuable because they isolate and engage your glutes in a controlled way. Regularly practicing this exercise can strengthen the muscles that play a crucial role in supporting your spine and hips. Glute bridges can be easily modified for different fitness levels, making them accessible to beginners and effective for advanced athletes.
🎯 How to Perform a Glute Bridge
Performing a glute bridge is simple, but focusing on proper form is important to get the most out of the exercise and avoid injury. Here’s a step-by-step guide to ensure you do it right:
✅ Set-Up
- Start by lying flat on your back on a mat or the floor.
- Bend your knees so your feet are flat on the ground, hip-width apart, and close enough that your fingertips can graze your heels when you extend your arms along your sides.
- Keep your arms relaxed at your sides, palms facing down.
✅ Engage Your Core
- Before you lift, engage your core by pulling your belly button toward your spine. This helps to stabilize your pelvis and protects your lower back from arching too much.
✅ Lift Your Hips
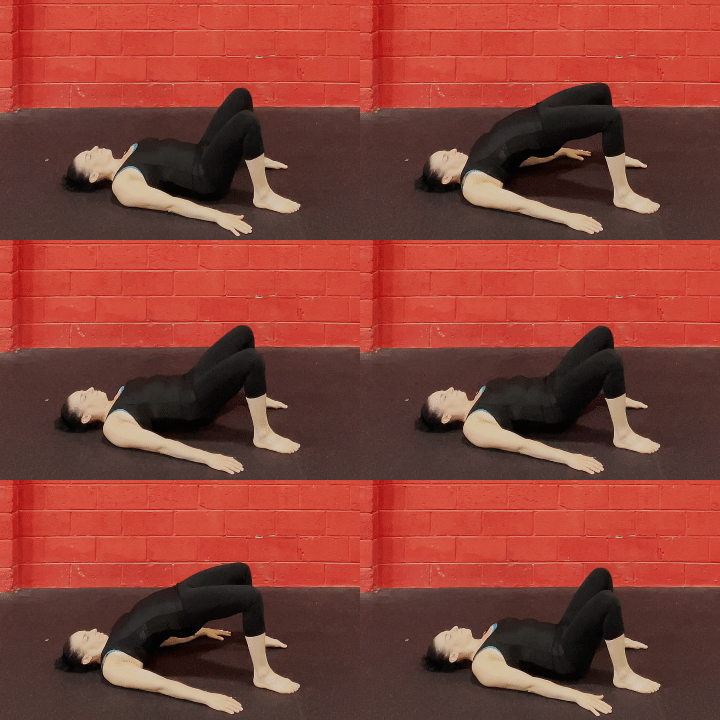
- Press your heels into the ground, and slowly lift your hips toward the ceiling.
- Squeeze your glutes at the top, creating a straight line from your shoulders to your knees. Your upper back and shoulders should remain grounded while your hips are fully elevated.
✅ Hold the Position
- Hold the bridge position for 1-2 seconds at the top, focusing on squeezing your glutes and maintaining core engagement.
✅ Lower Down Slowly
- Lower your hips slowly back down to the floor, keeping control of the movement. Avoid letting your hips touch the floor completely between reps to maintain tension in the glutes.
✅ Repeat
- Perform 10-15 repetitions for 2-3 sets, adjusting based on your fitness level. Make sure to maintain proper form throughout the movement.
💯 Common Tips:
- 👊 Avoid Arching Your Lower Back: Keep your core tight throughout the exercise to prevent excessive arching, which can strain your lower back.
- 👊 Press Through Your Heels: This ensures you’re engaging your glutes rather than shifting the work to your lower back or quads.
- 👊 Breathe: Inhale as you lower your hips and exhale as you lift them.
Mastering the basic glute bridge will prepare you for more advanced variations and help you target the muscles needed for lower back support and overall strength.
🏆Benefits of Glute Bridges for Your Back
So, what exactly makes glute bridges so special for back pain? Let me break it down for you:
1. 🙌 Improved Spine Support
Glute bridges strengthen not just the glutes but the core muscles as well. This combo provides much-needed support to your spine, allowing it to function without compensating for weak muscles. Imagine the difference between driving a car with a solid suspension versus a wobbly one—your spine needs that stability.
2. 🙌 Enhanced Mobility and Flexibility
The repetitive motion of lifting your hips in a glute bridge strengthens your muscles and increases hip flexibility. Tight hips are often a major contributor to lower back pain, and by loosening them up, you’ll experience more freedom of movement and less discomfort.
3. 🙌 Posture Correction
We all know how important good posture is, and glute bridges play a big part in maintaining it. They help stabilize the pelvis, keeping your spine in proper alignment. With better posture, you’re reducing the everyday stress on your back.
4. 🙌 Pain Relief Through Muscle Activation
A study showed that adding hip muscle strengthening exercises like glute bridges to a routine significantly reduced lower back pain and improved muscle strength. Your lower back muscles get a break as you engage your glutes and hamstrings during the bridge. The more you activate your glutes, the less your back has to overcompensate, leading to long-term pain relief.
5. 🙌 Reduced Risk of Injury
Strengthening your glutes isn’t just about pain relief but prevention. Stronger glutes mean better balance and stability, protecting your back from potential injury during workouts and everyday tasks.
🔥 7 Variations of Glute Bridges for Back Pain Relief
Now that you know why glute bridges are such a powerhouse exercise, let’s take a look at seven different variations you can use to keep things interesting and challenge your muscles in new ways. Each one offers its own unique benefits, helping you progress toward a stronger, pain-free back.
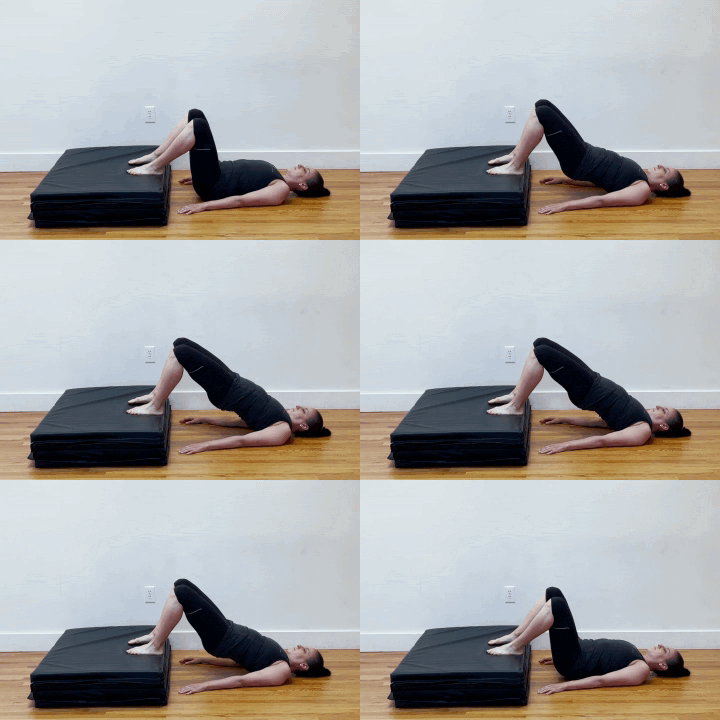
1. ⚡️ Basic Glute Bridge
This variation is the foundation. Lie on your back, knees bent, and feet flat on the floor. Slowly lift your hips toward the ceiling, squeezing your glutes at the top. This movement activates the key muscles that support your lower back, giving you a great starting point for pain relief.
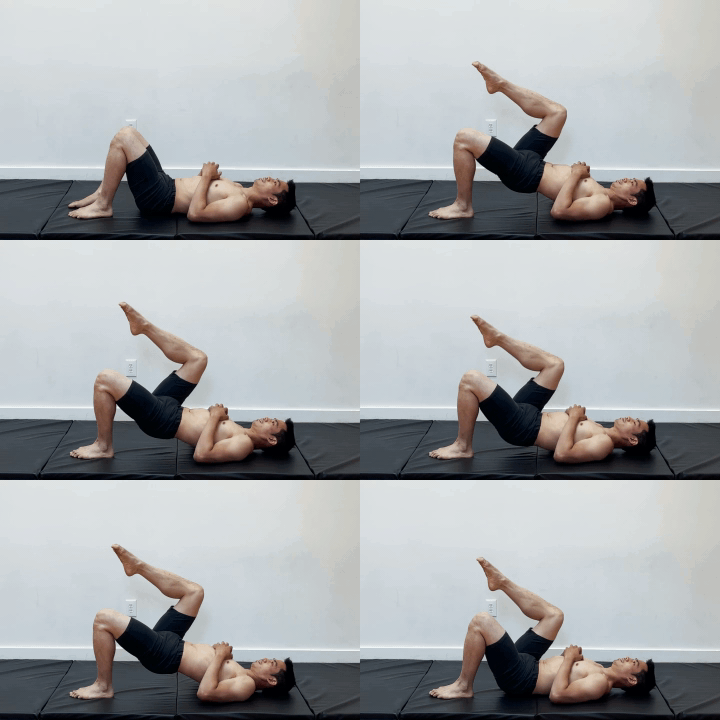
2. ⚡️ Single-Leg Glute Bridge
Once you’ve mastered the basic version, it’s time to up the ante. The single-leg glute bridge isolates one leg at a time, which not only strengthens the glutes but also helps correct imbalances. With one foot on the floor, lift the other leg into the air and perform the bridge with the remaining leg. It’s tougher but more rewarding!
3. ⚡️ Elevated Glute Bridge
Adding elevation by placing your feet on a bench or step increases the range of motion, allowing for deeper glute activation. This variation is perfect for targeting those hard-to-reach muscles, offering even more support to your lower back.
4. ⚡️ Banded Glute Bridge
Adding a resistance band around your thighs takes the basic glute bridge to the next level. The band creates tension, requiring your glutes to work even harder to push your knees outward as you lift your hips. This added resistance really fires up the glute muscles, making it more effective for back pain relief.
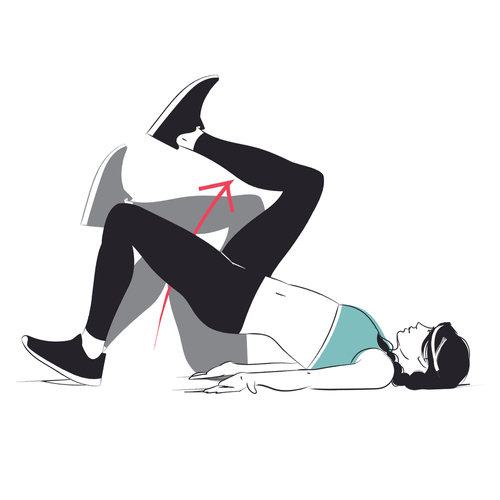
5. ⚡️ Glute Bridge March
To further challenge your stability, the glute bridge march involves lifting one knee toward your chest at a time while holding the bridge position. This movement strengthens not only the glutes but also your core and hips, offering excellent support for your lower back.
6. ⚡️ Bridge with Squeeze (Using a Ball or Pillow)
You engage your inner thighs, core, and glutes by squeezing a ball or pillow between your knees during the bridge. This variation is fantastic for improving overall stability, which translates to better back support.
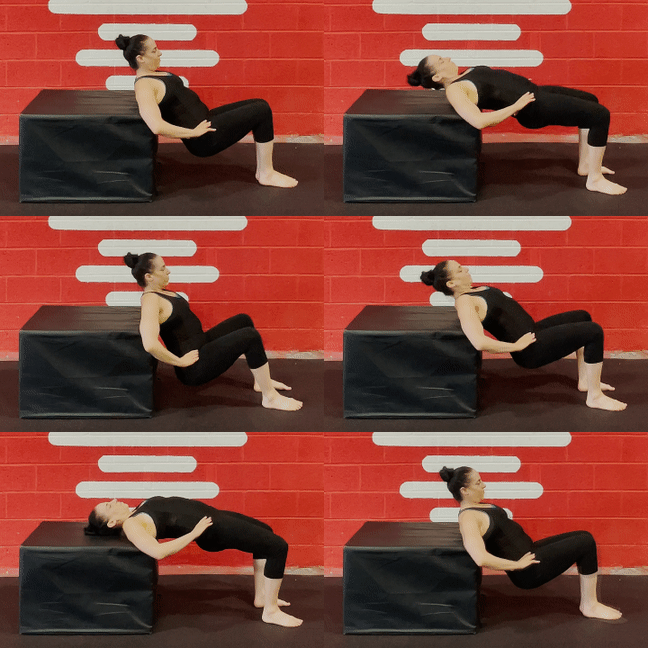
7. ⚡️ Hip Thrust (Advanced Variation)
For those ready for a more intense challenge, the hip thrust takes the glute bridge up a notch. A study published in The Journal of Strength and Conditioning Research found that hip thrusts activate the glutes more effectively than trap bars or traditional barbell deadlifts.
With your upper back resting on a bench and feet on the floor, the increased range of motion makes this variation a powerful glute and lower back strengthener.
✨ How to Incorporate Glute Bridges into Your Routine
So, how do you turn all these variations into a routine that delivers real results? The key is consistency. Start by incorporating glute bridges into your workout 2-3 times a week. You can increase the intensity by trying different variations or adding more sets and reps as you get stronger.
Pair glute bridges with other back-strengthening exercises, such as planks or bird dogs, for a well-rounded approach. And don’t forget—patience is crucial. If you stick with it, you’ll start noticing improvements in your posture, mobility, and pain levels.
If you want a more personalized plan to help you progress, check out The Movement Athlete app. This platform offers a free assessment to create a customized training plan tailored to your fitness level and goals. It’s perfect for ensuring you get the most out of exercises like glute bridges while tracking your progress.
💥 Conclusion
Lower back pain doesn’t have to hold you back. Glute bridges offer a simple, effective solution that you can do from the comfort of your home, and with the variety of exercises available, you’ll never get bored. The best part? With consistency, you’ll relieve your lower back pain and prevent it from returning in the future.
Start incorporating these glute bridge variations into your routine, and you’ll be on the fast track to a stronger, healthier back!



0 Comments