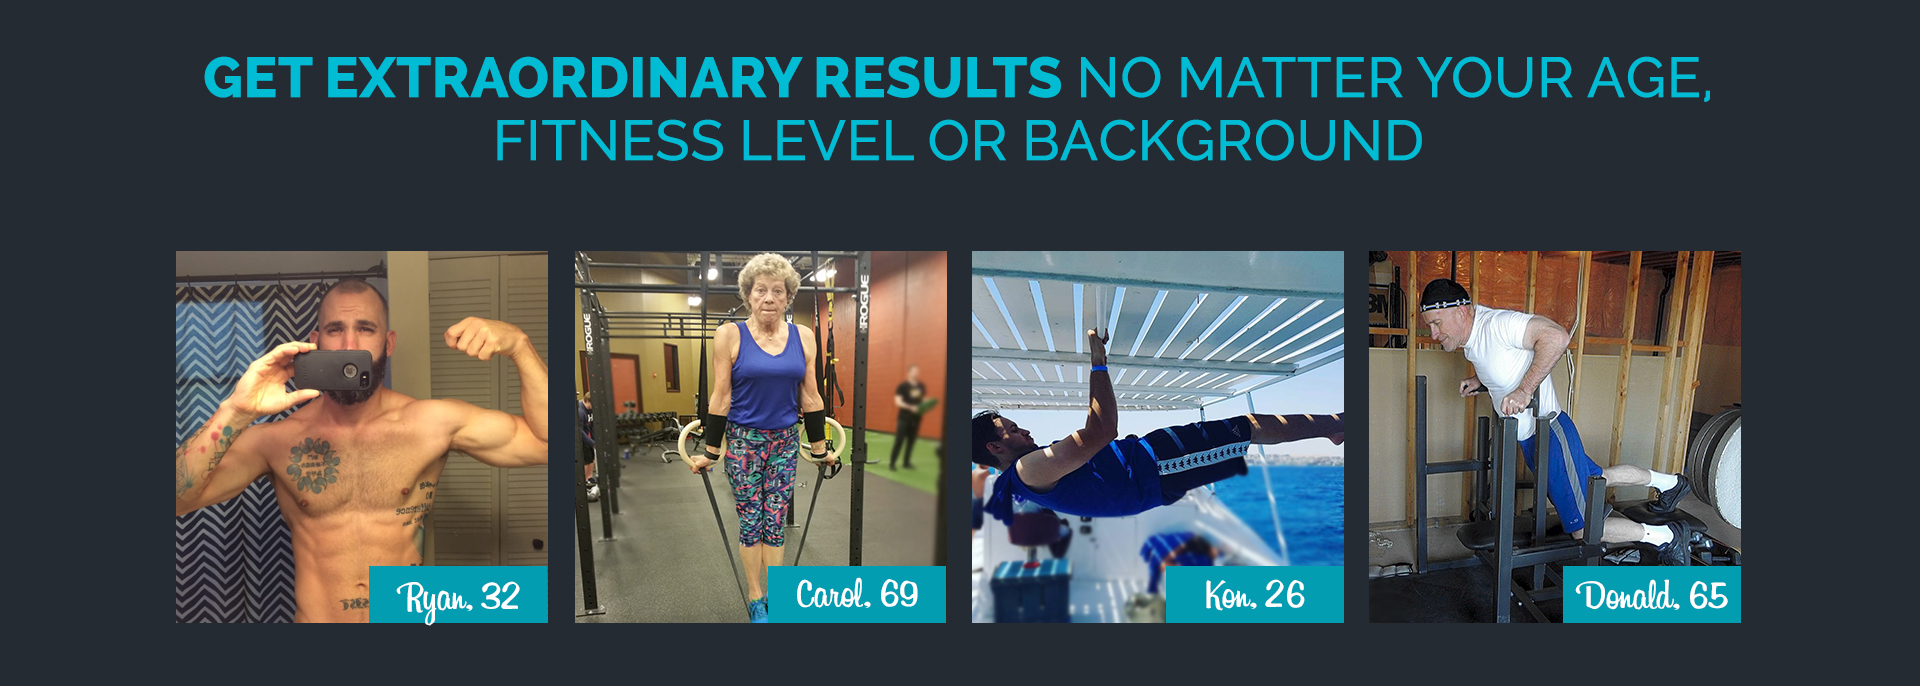
Join the tribe of Movement & Calisthenics Athlete – people just like you that are working with their own body weight to get strength, lose fat build muscle, recover from injuries and live their best lives!
Great job! You’ve got your handstand down and can basically sleep on it but ONLY when you’re against the wall. Trying it off the wall then it’s like the elusive skill is again far away from your reach. It is quite a different feeling when doing the freestanding handstand compared to having the wall help you balance.
Worry not because most handstand professionals have also gone through this phase and I’ll show you how they have done it.
There are 3 main components to master:
1. Kicking up to your handstand
2. Balancing
3. Master your fear of falling forward
It will be too difficult if your started learning going to your handstands by press ups (More of this in another blog!); hence, let’s start with the most basic entry.
3 Factors to Achieve Perfect Entry to Handstand
1. Use power from both legs for the kick up.
When you kick up with one leg, do not forget to push the ground with the other. The force will give you enough momentum to reach the peak of your handstand. Don’t do this, and you’ll end up falling back to the ground again or you might shoot to one side. Experiment with the amount of force you’ll need to exert to get to your handstand. Later, I’ll show you an exercise to master it without being to afraid of exerting too much.
Regarding kicking up, you should also consider your chest and shoulder positions. These will greatly affect your entry to handstand.
2. Shoulders lean forward in entry
Your shoulders should move slightly forward as you kick to your handstand then align it back to your straight body line. The lean gives you more balance while your legs are still moving up to the center.
3. Chest simultaneously moves inward.
Your chest move inward upon entry. This also provides you balance as your lower body swings to position and prevents your body from committing a heinous crime: the banana handstand.
Balance essentially defines freestanding handstand
Wall handstand DOES NOT require the balance needed in the freestanding ones. You need to take some quality time absorbing this. Read carefully and practice well!
Balance is more on technique.
This is the main area where people struggle a lot. Having superhuman strength and gymnastic mobility is great but not enough to perform the freestanding handstand. A technique is also essential and will provide better and more efficient progress when learning.
But how do we learn and do this?
By using progressional drills. These are drills are easier versions of the freestanding handstand and prepare you for the feeling of actually doing the move. Slowly but surely you will get your handstand.
3 Drills to Progress to Freestanding Handstand

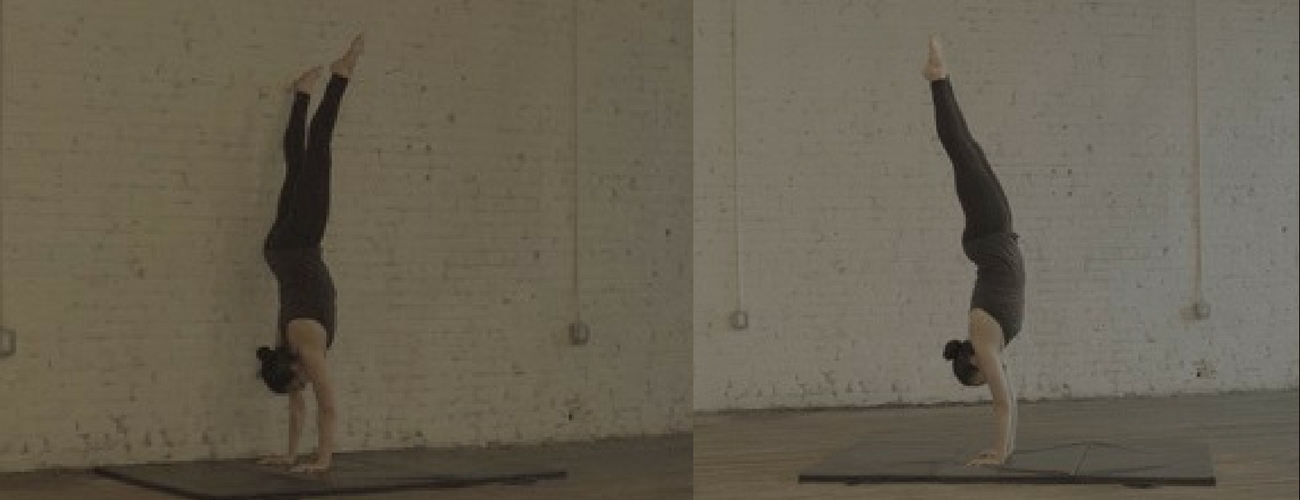
HANDSTAND FACING THE WALL
Yes, you can do the handstand against the wall. Now try it this time facing the opposite direction. Handstand facing the wall gives you the sense of performing a freestanding handstand. You can achieve this by:
- Kicking up to handstand
- Walking on the wall to handstand

FREESTANDING HANDSTAND WITH A SPOTTER
To level up your game, you can call a friend! Ask a friend to spot you in your handstand. The great thing training with a partner is that he/she could also point out your mistakes for you to correct.
3 spotting techniques
- Spotter’s arm is tightly pressed between your legs while you are in a handstand
- Spotter in front of you to holding your legs as you handstand
- Spotter by your side adjusting the tilt when you shift weight

HANDSTAND FACING THE WALL TOE-TAPS
You may simulate a spotter by doing handstands facing the wall again with half a foot of distance from the wall.
Walk to your handstand using the wall again but leave some space from your hands. Maintain your form and slightly tap the wall with your foot to maintain balance. Maintain the straight body alignment. Keep practicing this and you’ll be a master in no time.
“BUT WAIT! How do I even balance?!?!”
“With the progression of holds, you can definitely achieve this!
2 Main Techniques for Maintaining Balance
When attempting the wall-less move, please resist the urge of walking your handstand. If you feel the urge, drop the attempt. Resist the temptation and focus first in learning how to stand.
1. Hand technique
Standing on your hands is very similar with the physics of standing on your feet. Stand up on your feet now and tilt your upper body forward while resisting to fall. Notice your application of pressure on your toes. The force you apply with your toes prevents you from falling. Now do the opposite and tilt backwards while resisting. The pressure is now on your heels.
Can you see where this is going?
Upside down, the same concept applies.
-
While in a handstand, focus on pushing and putting pressure on the tips of your finger if you feel the tilt forward.
-
Shift the pressure to your palms when falling backwards.
Do remember to spread and open your fingers to gain most area covered. Grip the floor with your fingers. Your hand shouldn’t be flat on the ground.
2. Shoulder control
The other thing for balance is the control from your shoulders. This technique demands more shoulder strength from you but is still effective for control.
Very similar concept as mentioned before, my friend. Falling forward, lean your shoulders a bit forward as well and vice-versa to counteract gravity.
There is one more thing that keeps you from maximizing your full potential. FEAR!
Master your fear: Falling safely
Sometimes, the fear of crashing head first is the star player blocking your shot to get your freestanding handstand. Get ahead of your fear by trying to fall on your own with this technique.
BUT FIRST, you need to find a safe open space to try it out.
The last thing you need is a broken leg alongside your broken TV set. An open park, the gym or a spacious living room can do. Find something to cushion your fall just to ease your mind, but you can also try straight on a hard surface.
Falling backward or to the side is easy. Falling forward is the fear-inducing stressor and you can get over it by learning the proper of falling forward. Keep in mind that this also takes somebody coordination and practice.
Better master the roll portion of a basic somersault
It’s a very similar move and prepares you well for the exit.
Step 1: Go to your handstand and tip your handstand forward.
Step 2: Tuck your chin.
Step 3: Lower your body with your arms.
Step 4: Pike your legs.
Step 5: Roll your body as if you’re doing a somersault. Back of the head first, to your shoulders, upper back and onwards to the lower parts of your back. Tuck your legs as close to your chest as soon as the back of your head touches the ground.
(Do not let your body fall flat on the ground!)
Step 6: Be thankful you’re alive and awesome and you’ve learned something new.
You’re practically doing a front somersault coming from a higher position. Practice consistently so you can be more confident with your awesome handstand.
Form is everything. Always remember that!
You perfectly executed wall handstand should also look like your freestanding handstand.
1. Posterior Pelvic-tilt
2. Body Alignment
3. Body Tension
4. Shoulder Position
Actually, the these concepts above are all interconnected when performing a handstand. Posterior pelvic-tilt provides you engagement of the core. This will result into body tension which should spread out from your core to your extremities. Don’t forget to point your feet for leg tension! Body tension translates also to better body alignment. Having good alignment is accompanied by shoulder position.
It’s amazing how these concepts work together as you satisfy your upside down cravings.
But performing these concepts is worthless if you are missing out with your fundamentals!
Not fundamentals of handstands but fundamentals of exercise. Don’t forget your basics.
1. The most basic thing: don’t forget to breathe.
2. Focus on quality attempts rather than quantity.
3. Frequency and Consistency are vital for skill acquisition training.
For every progression, every attempt: Breath.
For every fall or every hold: breath. For every stretch, for every… well, you get my point. Breathing is also essential in learning skills. Deep breaths while performing the holds. It could be very difficult but it will make you stronger and soon more comfortable with moves.
Skills are very dependant on quality attempts.
Even if you attempt a million times a day for handstand with lousy form, it would STILL be lousy. Focus on maintaining the proper form. Take some quality rest in between attempts and think about your attempts during those rest periods. Trust me; it will do wonders.
With quality attempts, you still should be training as frequently as possible.
Remember that you are training for a skill acquisition. Muscle memory is built through training the skill over and over again. Train with consistency; around 4 to 6 times a week since the skill is not that demanding on your body. TRAIN! TRAIN! TRAIN!
What are we going to do again?
- Focus on your balance and kick ups.
- Progress to your handstand and don’t be in such as rush attempting the freestanding handstand over and over again.
- Master your fear so you could try out every possible entry and position. Full commitment is required for the move.
- Perfect your form. Form is everything.
- Go back to your basics because it will never be out of style and of use.
- Enjoy the process.
So what now?
Why are you asking me? Go train! If you need more help, The Movement Athlete Academy got you covered, my friend.
If you feel you’re missing something, lacking strength or mobility or want to know more about the process of learning the skill, check us out!
With the help of The Movement Athlete Academy, you will surely get to your handstand without the wall faster than you can say handstand.
Wait! You’re telling me handstand are too easy?! Try out this one for size.
Tell me about your handstand journey in the comment section below.
READY TO GET ON THE JOURNEY OF A LIFETIME?
See what our users are saying:
“Would you rather have the ability to boast of bench pressing 300 pounds or to do a one-arm pull-up? To me, pulling my entire body up with one arm is much more impressive. – Michael – The Movement Athlete User”
“The Movement Athlete is not the kind of program that demands you to be this physically fit to be able to perform. Instead, it caters to your own strengths and capabilities and keeps track of your progress.”
“Stick with it! It is hard at first, especially if you are stuck on a lower-level, high rep exercise. But persevering is worth it! Finally reaching each goal is so exciting.”