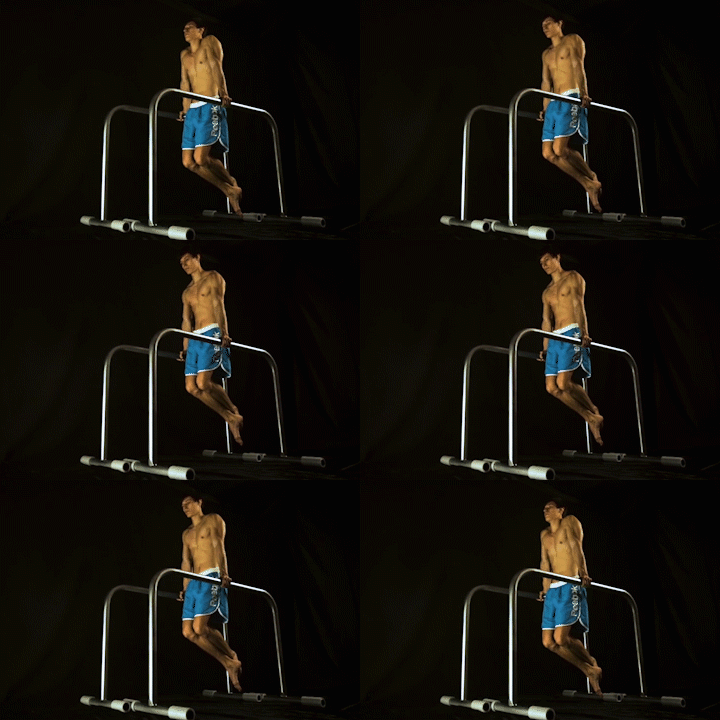
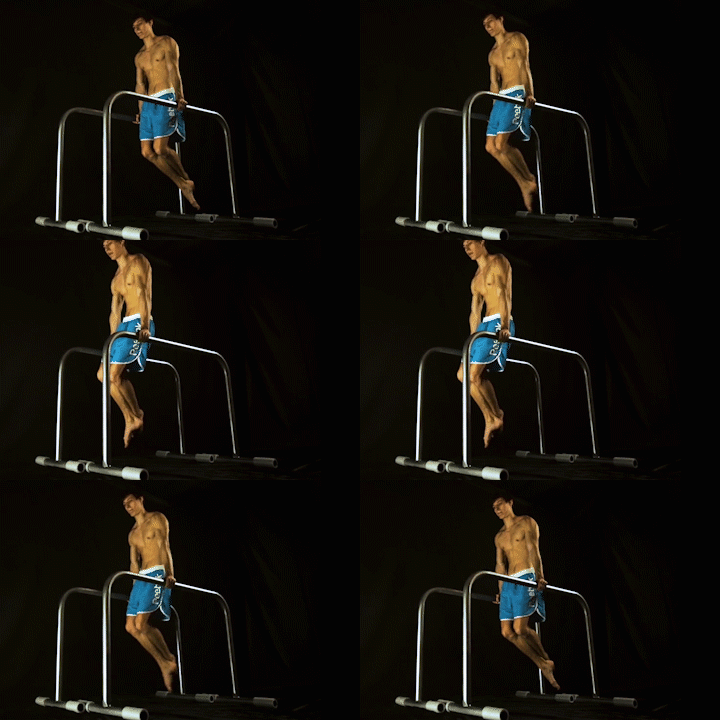
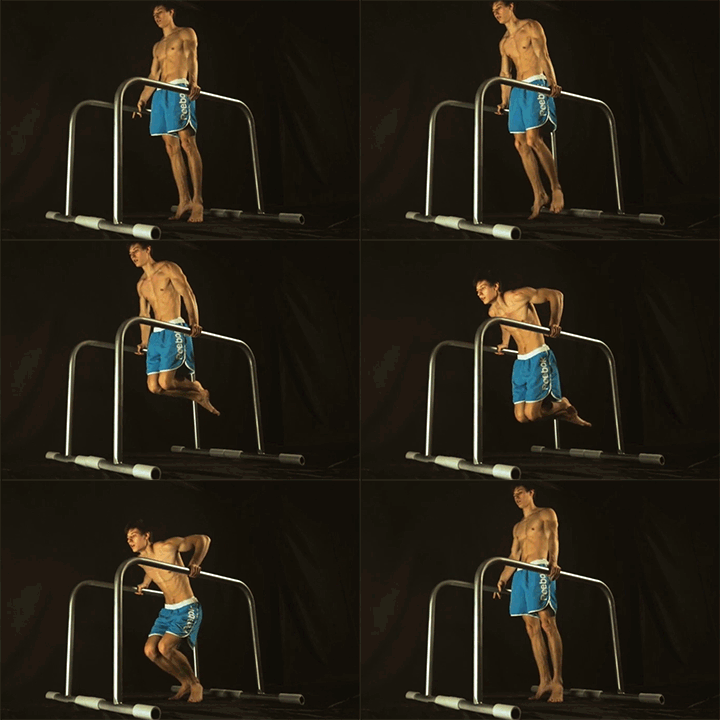
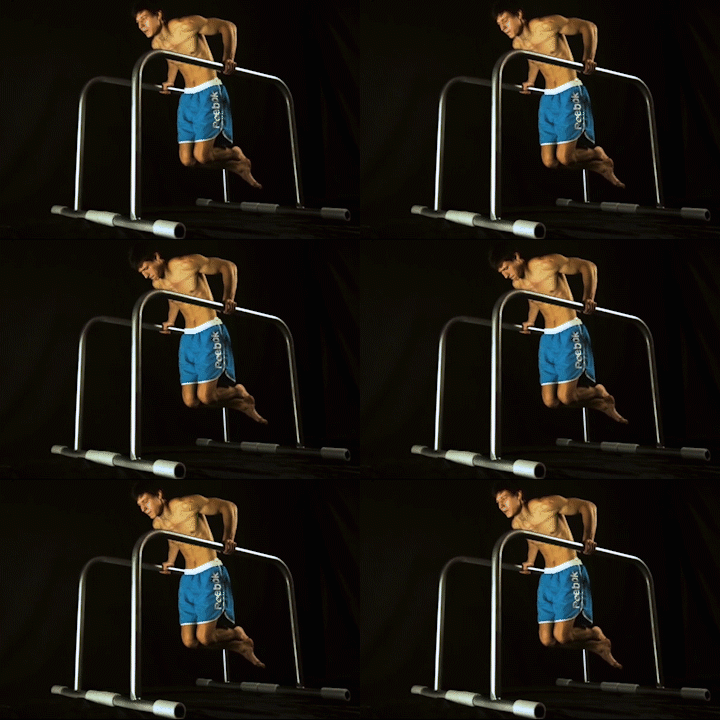
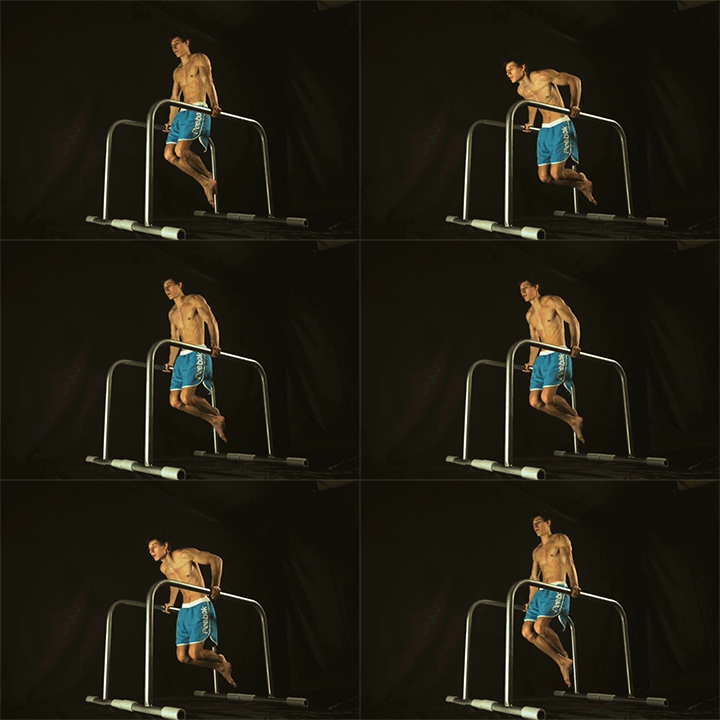
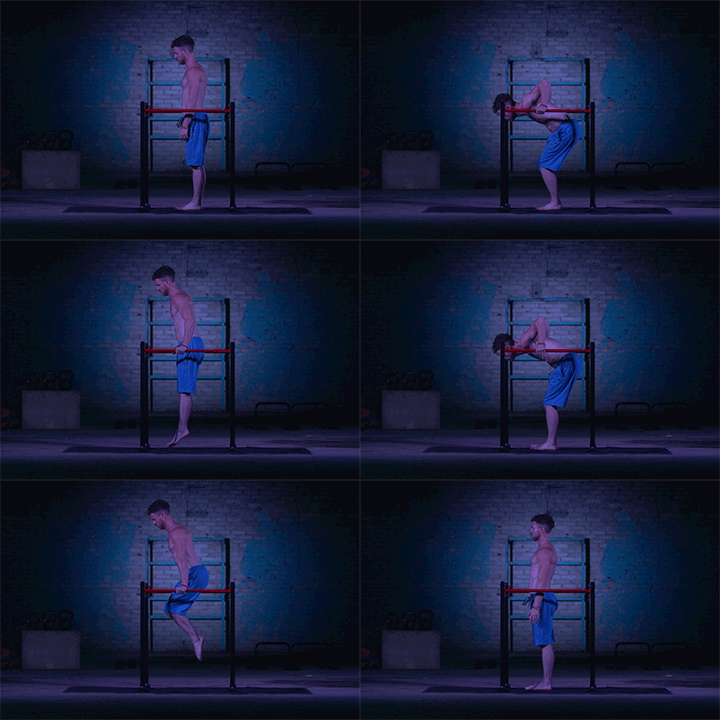
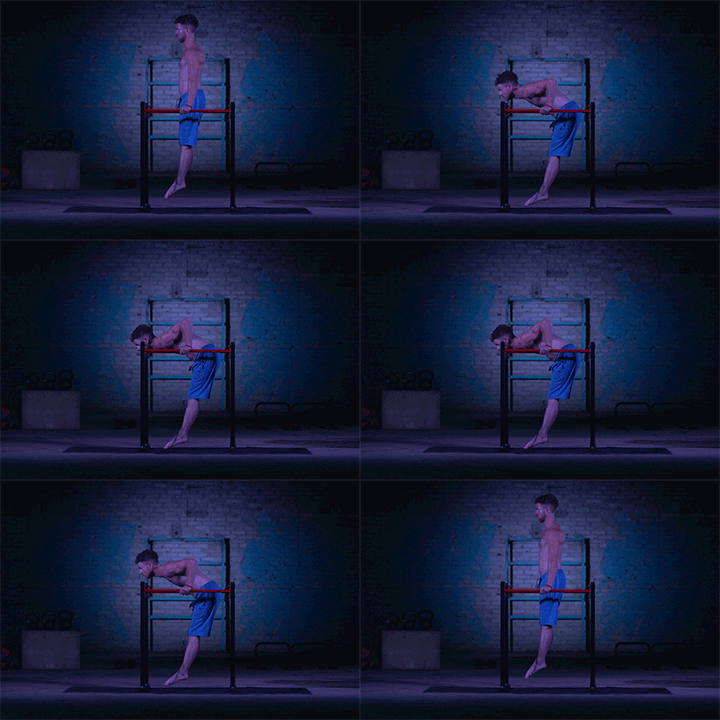
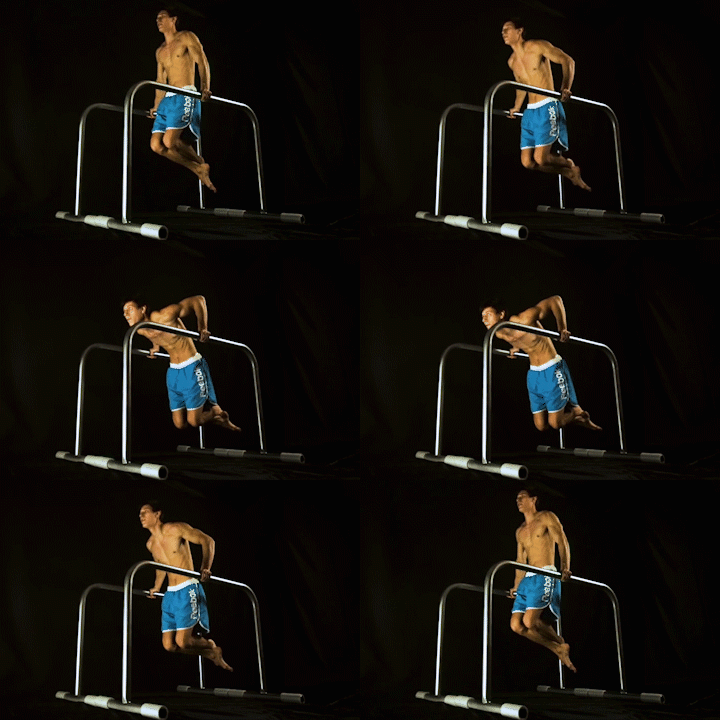
The bodyweight dip is a calisthenics fundamental that everyone should aim to master if they want to build strength, and 📍muscle and have excellent body control.
Like other calisthenics fundamentals, it’s a challenging exercise that can be progressed in a variety of ways to make it more difficult.
🏆 In this article, we will discuss the progressions for mastering the bodyweight dip from complete beginners. We will start with the easiest progression and work our way up to more advanced variations. We will also show a special progression and skill breakdown so you’ll be able to master the exercise safely and efficiently.
If you can successfully complete all of the progressions listed in this article, then you will be able to perform the bodyweight dip with perfect form!
Let’s get started!
Skill break down
When learning the dips, the common mistake is just working on the exercise progression. However, the ideal way to learn dips is by also addressing other weak links that can prohibit you from learning the exercise.
👉🏻 In The Movement Athlete app, we categorized the bodyweight dip progression into four types of exercises: Strength, Muscle, Skill, & Endurance.
Breaking down a skill in this manner helps you learn an exercise faster while minimizing the risk of injuries. We’ll explain each component better in the article.
If you’re interested in learning the dips in a personalised, adaptive, and progressive approach, then we highly recommend starting out your journey with the assessment below. The assessment lets you know where you are in your calisthenics journey so you can get started the right way.
TAKE THE ASSESSMENT NOW! 👊🏻👊🏻
💪🏻 Bodyweight Dip Progression
✨General rules for form for progressions
- Scapula depressed at all times – Shoulders pressed down and away from your ears
- Scapula retracted at all times – Proud chest position and shoulder blades pinched together
- Elbows close to the body
- Full body tension
- Move with control and don’t let your body just drop when going down
- Neutral head position
- Grip width depends on your body anthropometry but starts with shoulder width
Learn more about the proper dipping technique and cues here: 📍The Ultimate Guide to Bodyweight Dips
☝🏽☝🏽Extra tip: When you’re done, you’ll be back again!
Once you have mastered one progression, for example, you can do 15 reps of bench dips, don’t rush towards the next progression and leave the previous one immediately.
Unlike weight training, the jump from each progression isn’t straight forward as adding 2.5kg every session. Always come back to the basics and do more work mastering a skill. It can feel boring but this is the optimal and safest way to progress in calisthenics.
Don’t underestimate the basics.
🎯 Strength
The strength component covers the main emphasis of the progression. These exercises are the progressions themselves that will eventually lead to mastering the full range dips.
Each progression gradually builds intensity in terms of weight and range of motion until you reach the dip. These exercises should be the main component of your workout and the first one to do since they are the most tiring ones as well.
👊🏽Bent Knee Bench Dips
For complete beginners, the starting point is the bent knee bench dips. The bent knee position offers the most assistance so you can push and carry yourself with your legs while performing the dipping motion with your upper body.
However, there is a slight concern with this exercise and other bench variations. A study shows that while bench dips offer good stimulation of the chest, triceps, and shoulders, the exercise demands a high degree of shoulder flexion.
This means if you’re not mobile enough and not performing the exercise in good form, it can be dangerous for your shoulder joints.
If you’re still working on your shoulder extension mobility, be sure to point your fingers backward to put your shoulders into an external rotation. This makes the exercise much safer when being performed.
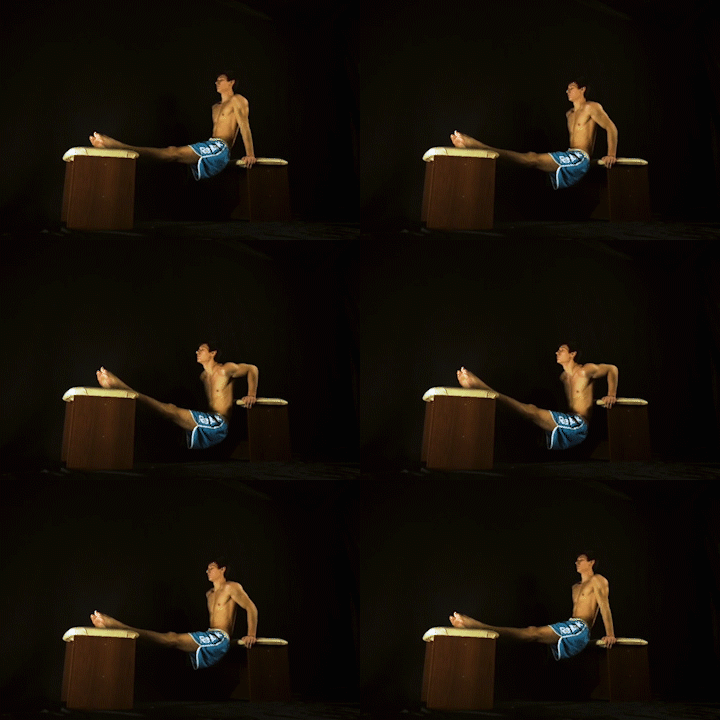
👊🏽Straight Legs Bench Dips
Once you have built enough strength from the bent-leg variation, it’s time to straighten your legs to get less assistance from them when forming the bench dips. A similar case is present with this bench dip. Be aware of your shoulder mobility.
Another thing you need to be mindful of is your shoulder placement. You need to fully depress your shoulders. This means pushing your shoulder down away from your ears instead of letting it shrug. Doing so optimizes your muscles for pushing while minimizing the risks of injuries.
👊🏽Elevated Legs Bench Dips
Time to level up your bench dip by elevating your legs. Placing your legs on a higher surface increases the intensity of the exercise so that you rely more on your upper body’s pushing capacity.
Please follow the same protocols similar to the previous bench dip exercises.
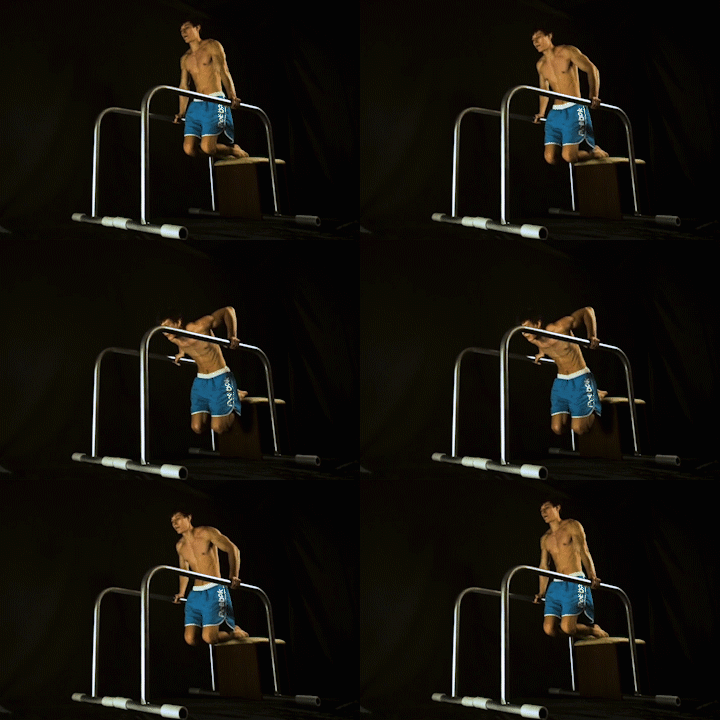
👊🏽Legs Supported Dips
Now, we’re finally starting on the parallel bars to learn the movement pathway of the dips. In this progression, you’ll be performing the dips with leg assistance.
If the parallel bars are low enough, you can simply put your feet on the ground. If it’s high, place an elevated surface behind you where you can place your feet when performing the dips.
The one drawback of this exercise is that you might not get an equal amount of assistance in every rep especially when fatigue sets in.
An alternative you can do is band-assisted dips. Choose a band that provides just enough assistance so you can perform the dip while keeping it challenging by limiting your rep range to around 5-10 reps.
It’s best to look get a set of bands so you can easily choose among them.
Check out these bands: 📍Resistance Bands from Amazon
👊🏽One Leg Supported Dips
One you get strong enough, simply remove one leg assistance so that you’re only relying on one leg when performing the dip. This increases the intensity of the exercise.
The counterpart of this when using bands is just by using a lighter band. Lighter bands provide less assistance so you can continue building strength with the exercise.
👊🏽Shrugging Dips
The next step, once you have built enough strength from the previous progressions, is by stabilizing your shoulders on the full dip support hold.
Your shoulders play a very crucial role in stabilizing the whole arm so you can safely perform the dips. If your shoulders aren’t able to remain in the depressed and retracted position mentioned earlier, you will not be able to maximize your upper body force output which will also increase the risk of injuries.
Shrugs are done by starting in a dip support hold. Once you get into the position, slowly shrug your shoulders with control then push back up into the starting position. Always maintain scapula retraction throughout the range of motion.
👊🏽Walking Dips
This exercise develops your straight lockout strength for the top position of the dips while continuing to build strength for scapula retraction and depression.
If you don’t have enough space to perform the exercise on your dip station, you can simply rock side by side instead of walking forward with your dips. Count one repetition once you completed the movement for each side.
Because this is a unilateral exercise, it can also help in balancing your strength gains for both your dominant and non-dominant arms.
👊🏽Slow Negative Dips
Research shows that we are inherently stronger when performing the negative or eccentric phase of an exercise. In dips, this means when we are going down. Even if you’re still not able to perform the pushing-up phase, if you followed the previous progressions, then you will definitely be able to slowly lower from the support hold to the bottom of the dip.
To perform this exercise, begin in the dip support hold. Then slowly lower down for 8 seconds until you reach the bottom of the dip. When the exercise becomes challenging, you can also get some assistance from your legs while focusing on the slow negative dips.
👊🏽Static Hold Halfway Dips
Isometrics are a powerful approach to building strength in sticking points of exercises. The lower part of the dip is usually the most challenging for most individuals. This exercise trains the lower part of the dip when the elbows are at a 90-degree angle.
👊🏽Half Dips
We call them half dips but they are essentially full-range dips as well if you have a limited range of motion on your shoulders. This is already a fantastic exercise for building strength for your chest, shoulders, and triceps.
👊🏽Bottom Dip Hold
Similar to the static hold half dips, this exercise is an isometric hold but focuses on the lower portion of the dip with a greater range of motion of your shoulders.
The deeper you go with the dips, the better so we’ll be focusing on building strength for the bottom half with greater shoulder extension.
👊🏽Bottom Dip Press
With this exercise, we now focus on the concentric phase from the bottom dip hold. The most challenging part of the dip is pushing back up to the starting position. We will first neglect the easier negatives (but you should still work on them in your routine) and prioritize the upward push toward the top.
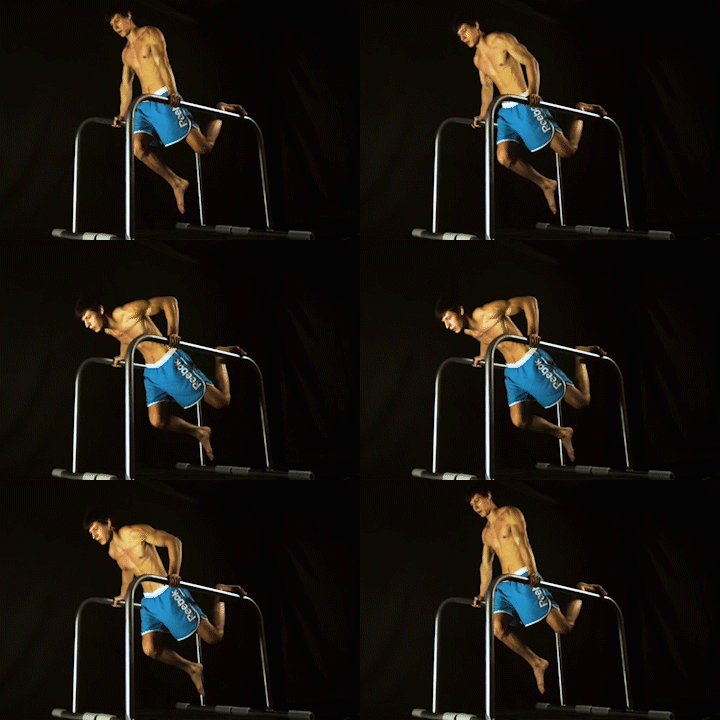
👊🏽Full-Range Dips
Once you have mastered the bottom dip press, it’s time to combine it with the eccentric to get the full range of motion of the dips. This fantastic exercise is something you’re going to work with for a long time because it offers huge strength gains and opens the opportunity to work on advanced dip variations such as the 📍ring dips, Russian dips, and weighted dip variations.
Just be sure to master this exercise with perfect form! Learn more here: 📍Common Dip Mistakes to Avoid
🎯 Skill
The skill component covers the weak links that might be hindering you from mastering the dips. These exercises are relatively low in intensity so you can put them at the start of your workout as a warm-up or during the end for adding training volume.
✊🏽Scapula Retraction & Depression
Scapula positioning is vital for safe and optimal results when performing dips. With this exercise, the motion will be ingrained into you, so you can always be mindful of your scapula positioning.
Read more here: 📍What is the Scapula?
✊🏽Serratus Push-ups
The serratus anterior is a muscle around your rib cage that connects to your scapula. It is responsible for pulling the scapula forward and keeping it close to the rib cage. This exercise strengthens that muscle so you can keep your scapula in a retracted and depressed position when performing dips.
🎯 Muscle
Building muscle is important if you want to master the dips. The more lean muscle mass you have, the higher your potential is to build strength for an exercise.
For this component, we’ll be going over some of the previous progressions while adding push-ups to the mix. These exercises should be easier compared to the strength progression that you’re currently working on.
Adding these exercises will help you add training volume for your targeted muscles so you can continue building muscle and strength.👇🏽
- 🤜🏽 Legs Supported Dips
- 🤜🏽 Push-ups
- 🤜🏽 One-leg Supported Dips
- 🤜🏽 Half Dips
🎯 Endurance
The endurance part of the exercise helps you build a longer capacity to work on your dips. Having the strength part down is not enough. What if you have enough strength but are only able to hold the support of your body?
Performing dips with 6-15 reps per set requires a minimum of holding the top and bottom positions for at least 30 seconds. Building endurance for these positions helps you work longer so you can attain the proper working sets for dips to build strength and muscle.
- 🤜🏽 Shrugging Dip Top Hold
- 🤜🏽 Bottom Dip Up (Legs Supported)
- 🤜🏽 Static Half Way Dips
- 🤜🏽 Top Dip Hold
📌Takeaway
You should now have a better understanding of how to progress with dips as a beginner. Remember to start with the basic progressions and work your way up. Do not be in a rush to move on to the next progression. It is important that you master each movement before moving on.
Also, make sure that you add volume for each progression. You can do this by adding sets, reps, or time. Doing so will help you build the strength and endurance needed to master dips.
Finally, have fun with it! Dips are a great exercise that offers a lot of benefits. So make sure that you enjoy the process of learning them. Thanks for reading!

